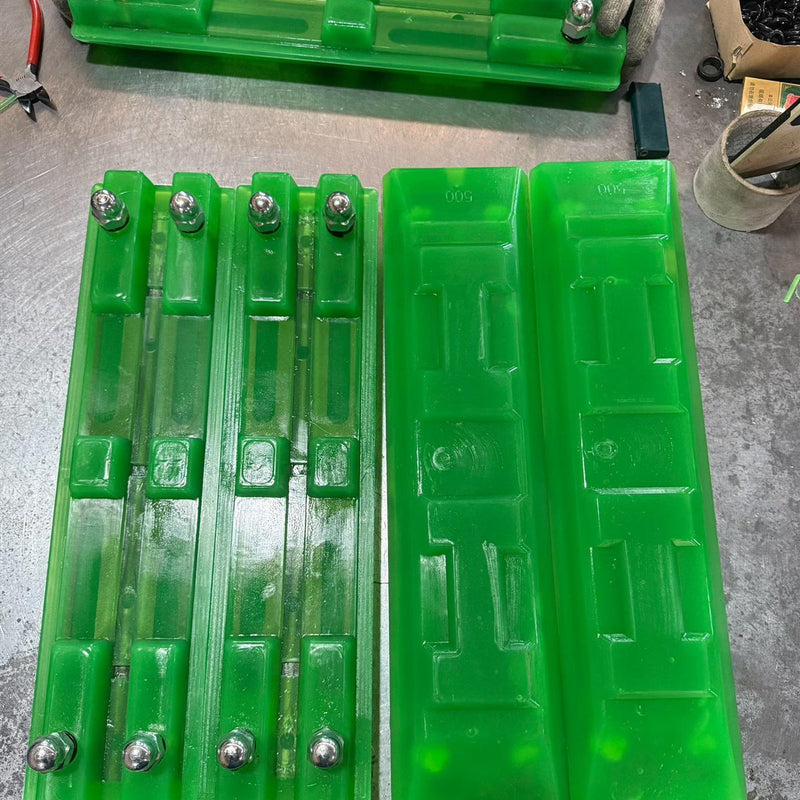
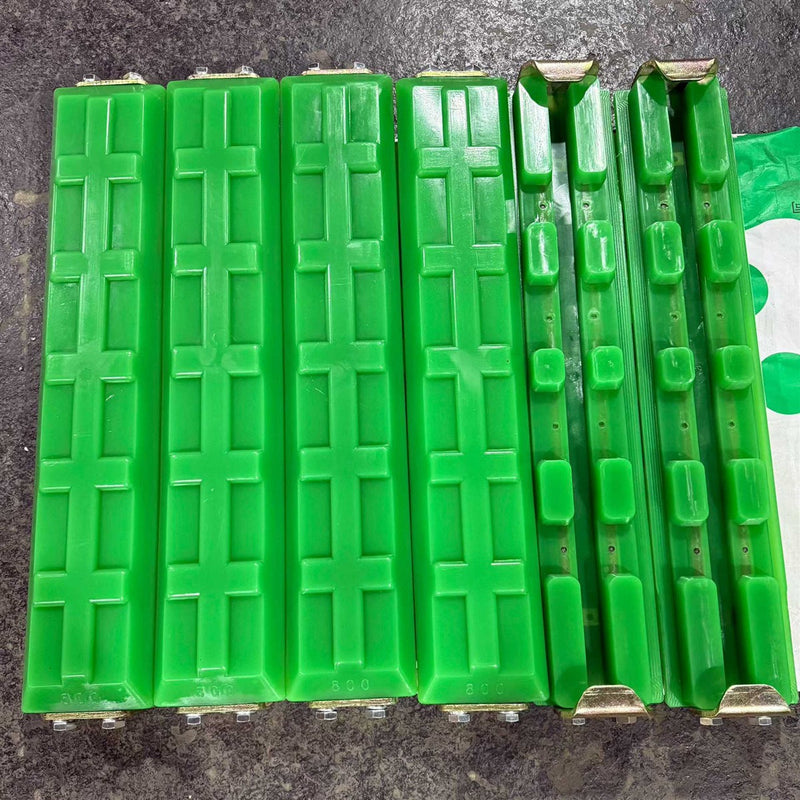
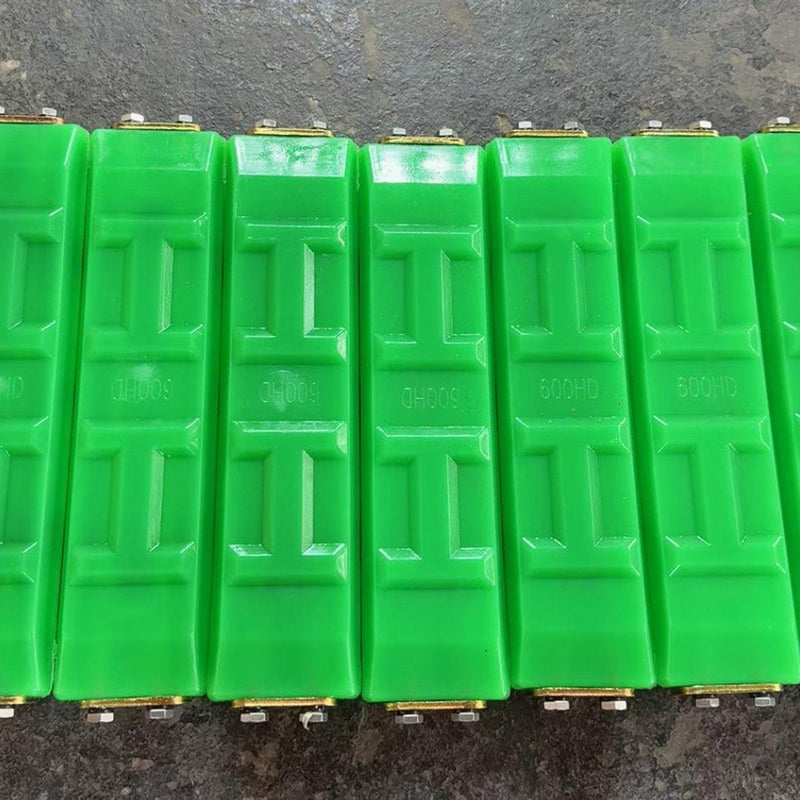
The fastest way to order the wrong excavator track pad is to rely on the machine model alone. Model information helps narrow the search, but the steel track shoe determines whether a pad can actually be mounted.
A useful fitment check normally takes about ten minutes. You need a tape measure, a phone camera, the machine model, and a clear view of one steel shoe. The goal is to record enough information to distinguish the width and mounting arrangement without guessing.
What to prepare before measuring
Park the machine on firm, level ground and follow the manufacturer’s safety procedure. Lower the attachment, isolate the machine as required, and never work beneath an unsupported excavator. Clean one track shoe so the edges, grouser and mounting holes are visible.
Prepare four pieces of information:
- Machine manufacturer and exact model
- Steel track-shoe width
- Mounting-hole layout or grouser profile
- Number of shoes on each side
Step 1: measure the steel track-shoe width
Measure across one steel shoe from its outside edge to the opposite outside edge. Keep the tape straight and record the result in millimetres. Do not measure the rubber or polyurethane pad already fitted, the chain, or the overall width of the undercarriage.
A measurement such as 400mm or 450mm identifies the nominal pad width, but it does not confirm the mounting style. Two machines with 450mm shoes can have different hole patterns or grouser profiles.

Step 2: check whether the shoe suits bolt-on pads
Bolt-on pads require compatible pre-drilled holes in the steel shoe. Count the holes, photograph them directly from above, and measure the centre-to-centre distance. The easiest repeatable method is to measure from the same edge of one hole to the same edge of the next hole.
Also record the hole diameter and the distance from the holes to the shoe edges. A photograph taken at an angle can make the spacing look shorter, so place the camera directly above the shoe and include the tape measure in the frame.
If the shoe has no usable holes, do not assume that a bolt-on pad can be installed. Compare the shoe with the clip-on track pad range or ask for fitment help.
Step 3: check the grouser profile for clip-on pads
Clip-on pads clamp around a compatible shoe or grouser. Width is still important, but the side profile and available clearance matter just as much. Photograph the top, rear edge and underside of the shoe. A side photograph should show the grouser height and the space around it.

Heavy wear, welded repairs or packed material can change the apparent profile. Clean the area before photographing it, and mention any modification to the original shoe.
Step 4: count the shoes on both sides
Count the number of steel shoes on the left and right tracks. Do not use the count from another machine, even when the two excavators have similar operating weights. Track-chain configurations can differ.
State whether you need one replacement pad, several spares, one complete side or a complete machine set. For a full set, confirm the count for both sides rather than multiplying an estimate.
Step 5: take photographs that answer fitment questions
A complete photo set should include:
- The complete machine from the side
- The manufacturer’s model plate
- One clean steel shoe from directly above
- The underside or rear edge of the same shoe
- The width measurement visible in the photograph
- The mounting-hole spacing for a bolt-on enquiry
Use good light and avoid digital zoom. A close, sharp photograph is more useful than several distant pictures. If the old pad is still installed, include it, but also expose one bare shoe if possible.
Common measuring mistakes
- Measuring the worn pad instead of the steel shoe
- Recording inches without a clear fraction or conversion
- Measuring between the inside edges of two holes instead of centre to centre
- Sending only the excavator model with no shoe photographs
- Assuming every shoe on a used machine is original
- Guessing the number of pads required
What to send if you are still unsure
Send the machine brand and model, steel shoe width, mounting photographs and required quantity. VectorMax supplies polyurethane pads from 230mm to 800mm for applications ranging from mini excavators to heavy steel-tracked equipment.
You can also follow the illustrated How to Measure guide. If the measurements are unclear, contact the VectorMax team and an experienced specialist can help compare suitable options.